Sometimes you can’t find the right words to convey an idea or technique. What started as a quick note to explain your color choice for a recent design prototype ended up turning into a full-blown, 500-word email.
After spending more time than you wanted to on writing and editing your email, it might hit you that you should’ve just recorded a video. Loom and other screen recorders help you capture and share your ideas visually so you can do more showing and less telling.
There are also basic tools to help you record visual ideas. If you’re using Windows 10 or 11, you’ve got access to the built-in Xbox Game Bar or Snipping Tool.
But is the native Windows screen capture toolkit enough? Maybe not. If you want to personalize your videos with custom backgrounds, clarify audio and video with editing tools, or even capture your webcam alongside your screen, you’ll want a full-featured screen recording tool instead.
Learn how to screen record on Windows, plus explore some alternatives that offer more video editing capabilities, including Loom.
Why you shouldn’t use the native Windows screen recorder
If you only need to record a simple video, the Windows screen recording tools are good enough.
But if you’re hoping to personalize your video by overlaying illustrations, adding captions, or highlighting mouse clicks, you’re out of luck. And if you were hoping for a full video editing suite that also records in high resolution, the native Windows screen recorder is definitely not the tool you’re looking for.
The Windows 10 and 11 screen recording tool leaves a lot to be desired:
Lack of personalization: The native Windows screen recorder doesn’t have options for personalizing or annotating your videos. It also doesn’t record your webcam.
No sharing features: To share a video recorded with the Windows screen capture tool, you need to manually render and upload it to a hosting platform or attach it to an email.
No video editing tools: Want to trim, cut, merge, or otherwise edit your recording? You’ll need to download a separate app.
Resolution limits: Windows only records your screen in 720p or 1080p resolution. It also doesn’t include advanced settings to change bitrate, frame rate, or video codecs.
Recording area limits: The built-in screen recording software can’t record multiple windows or screen areas simultaneously.
All of these features make it easier to share and publish recorded messages that clearly convey your ideas. And while best screen recorders might offer basic versions of these features, there are plenty of budget-friendly screen recorders out there—including Loom—that come packed with features that make recording your screen, editing your clips, and sharing your videos easier.
How to screen record on Windows 10 and 11 with Loom
If you’re looking for an easy-to-use alternative to the built-in Windows screen recorder, Loom is worth a look.
Its Chrome screen recorder and Windows screen recording app record your entire screen or a specific region along with your webcam in just one click. And there’s no need to stress about editing out background noises. Loom cleans your audio and optimizes your video automatically.
Here’s how easy it is to record and share Loom screen recordings on Windows:
1. Sign up for a free Loom account.
2. Download the Loom for Windows app or the Chrome extension, then log into your Loom account.

3. Select the type of video you’d like to create.
Full screen (if you have multiple monitors, choose which screen to record)
Specific window
Custom size (available with Business and Enterprise plans)
Camera only

4. Go to Settings and adjust audio and visual settings to your liking.
Enhance: Automatically filter noise, adjust lighting, and touch up your appearance.
Video and audio: Highlight mouse clicks, record in up to 4K resolution, turn the recording countdown on or off, and record system audio.
Preferences: Create custom Loom recording shortcuts.

5. Choose a camera frame under Effects, a background template under Canvas, and add notes for what you want to say with Speaker notes.

6. Click “Record” to begin capturing your screen, then click the “Stop” button on the recording toolbar to end your recording. Your video is automatically saved to your Loom Library and ready to share with a link.

7. Open your video in your Loom Library to add edits.
Use Loom AI to auto-generate a title and summary, remove filler words and silences, or create a document based on your video transcript.
Polish your video with Edit by transcript. Remove words just like you’d edit a Word document to trim your video.
Trim your video to shorten it, split your video into two clips, or stitch two different clips together.
Embed a link in your video to share additional information with viewers.
Loom’s Chrome browser extension plus desktop and mobile app is easy to use—you won’t need to take a video editing course to create polished, high-quality videos.
How to record your computer screen and audio using the Snipping Tool in Windows 11
Heads up: While both Windows 10 and Windows 11 come with the Snipping Tool, only the Windows 11 version has the option to record video.
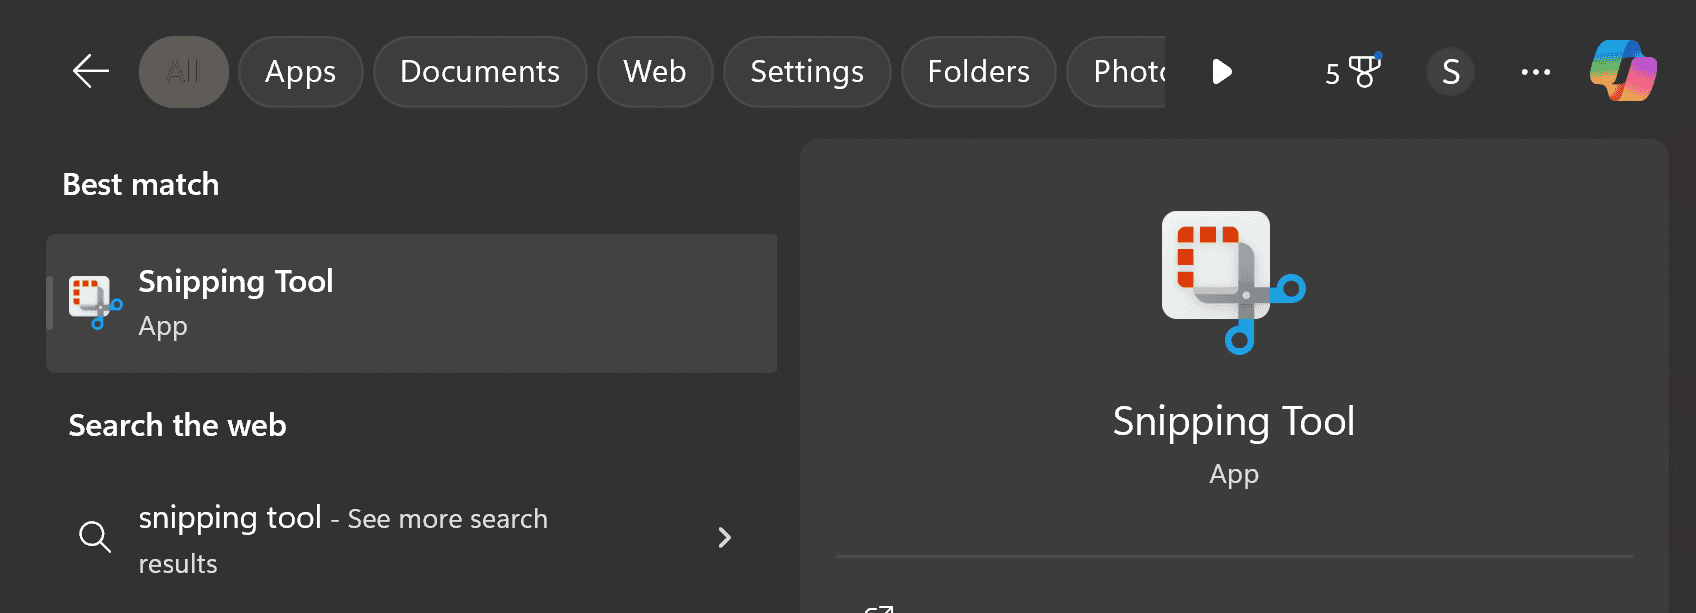
You can find this screen recording tool by opening the search bar and typing “Snipping Tool.” Then follow these steps to record a video using the Snipping Tool and Windows 11:
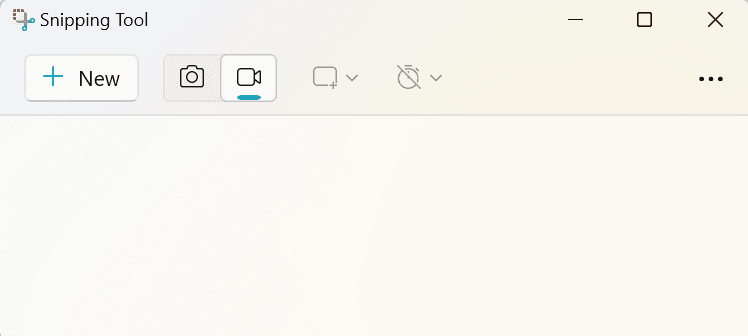
1. With the Snipping Tool open, click the video camera icon to toggle to the screen recording function.
2. Click New to select the area of your screen you want to record.
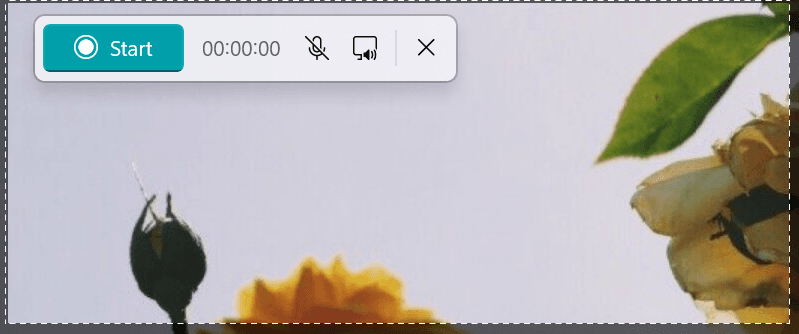
3. Click the microphone icon on the recording toolbar and select your microphone or headset. You can also mute your microphone if you don’t want to record a voiceover.
4. Click the blue “Start” button to record your screen.
5. Click the “Stop” button to complete your recording and preview your video in the Snipping Tool.
No audio recording option? If you’re using Windows 11 but missing the option to record audio, you may need to update your Snipping Tool. Check the Microsoft Store to see if there are any updates available, then download and install them.
How to screen record on Windows with the Xbox Game Bar
Another option for screen recording on Windows is the Xbox Game Bar. You can access the Game Bar on both Windows 10 and 11—so Windows 10 users still have a built-in way to record their screens. Along with capturing your on-screen actions in up to 1080p resolution and up to 60 frames per second (FPS), the Xbox Game Bar records system audio and your voice.
Here’s how to set up the Xbox Game Bar, open the overlay, and record your screen:
Adjust Xbox Game Bar settings
1. Open your Windows Settings menu and select “Gaming.” Toggle on Xbox Game Bar to access the overlay.

2. On the left-hand side of the Game Bar settings window, choose “Captures.” Note which folder your recordings are automatically saved to and change it if you prefer.

3. Scroll down to view the Background recording options, which may look different depending on whether you’re using Windows 10 or 11:
Windows 10: “Record in the background while I’m playing a game”
Windows 11: “Record what happened”
Additionally, you should check the box next to “Record even when my PC isn’t plugged in” to capture screen recordings on your laptop without having to plug it in first.
Checking the box next to “Record while wirelessly projecting my screen” lets you screen record while you project your desktop to another monitor or TV.

4. Next, set your maximum recording length to anywhere from 30 minutes to 4 hours.
5. Scroll down to the Recorded audio section and toggle on “Record audio when I record a game.”

6. Adjust the audio quality to anywhere from 96 Kbps to 192 Kbps—the recommended setting of 128 Kbps is fine for most recordings. You can also adjust your microphone and system volume here.
7. If you don’t want to capture system sounds like the Windows error chime, check the box next to “Record game audio only.”
8. Scroll down to the Recorded video section and set the video frame rate to either 30 FPS or 60 FPS. Using 30 FPS likely works for most recordings.

9. Set the video quality to Standard or High, which changes both your recording resolution and bitrate. Choosing High quality may decrease your device’s performance while you record, and your video file size will be larger.
10. Check the box next to “Capture mouse cursor in recordings” to record your mouse movements and clicks.
Record your screen with Xbox Game Bar
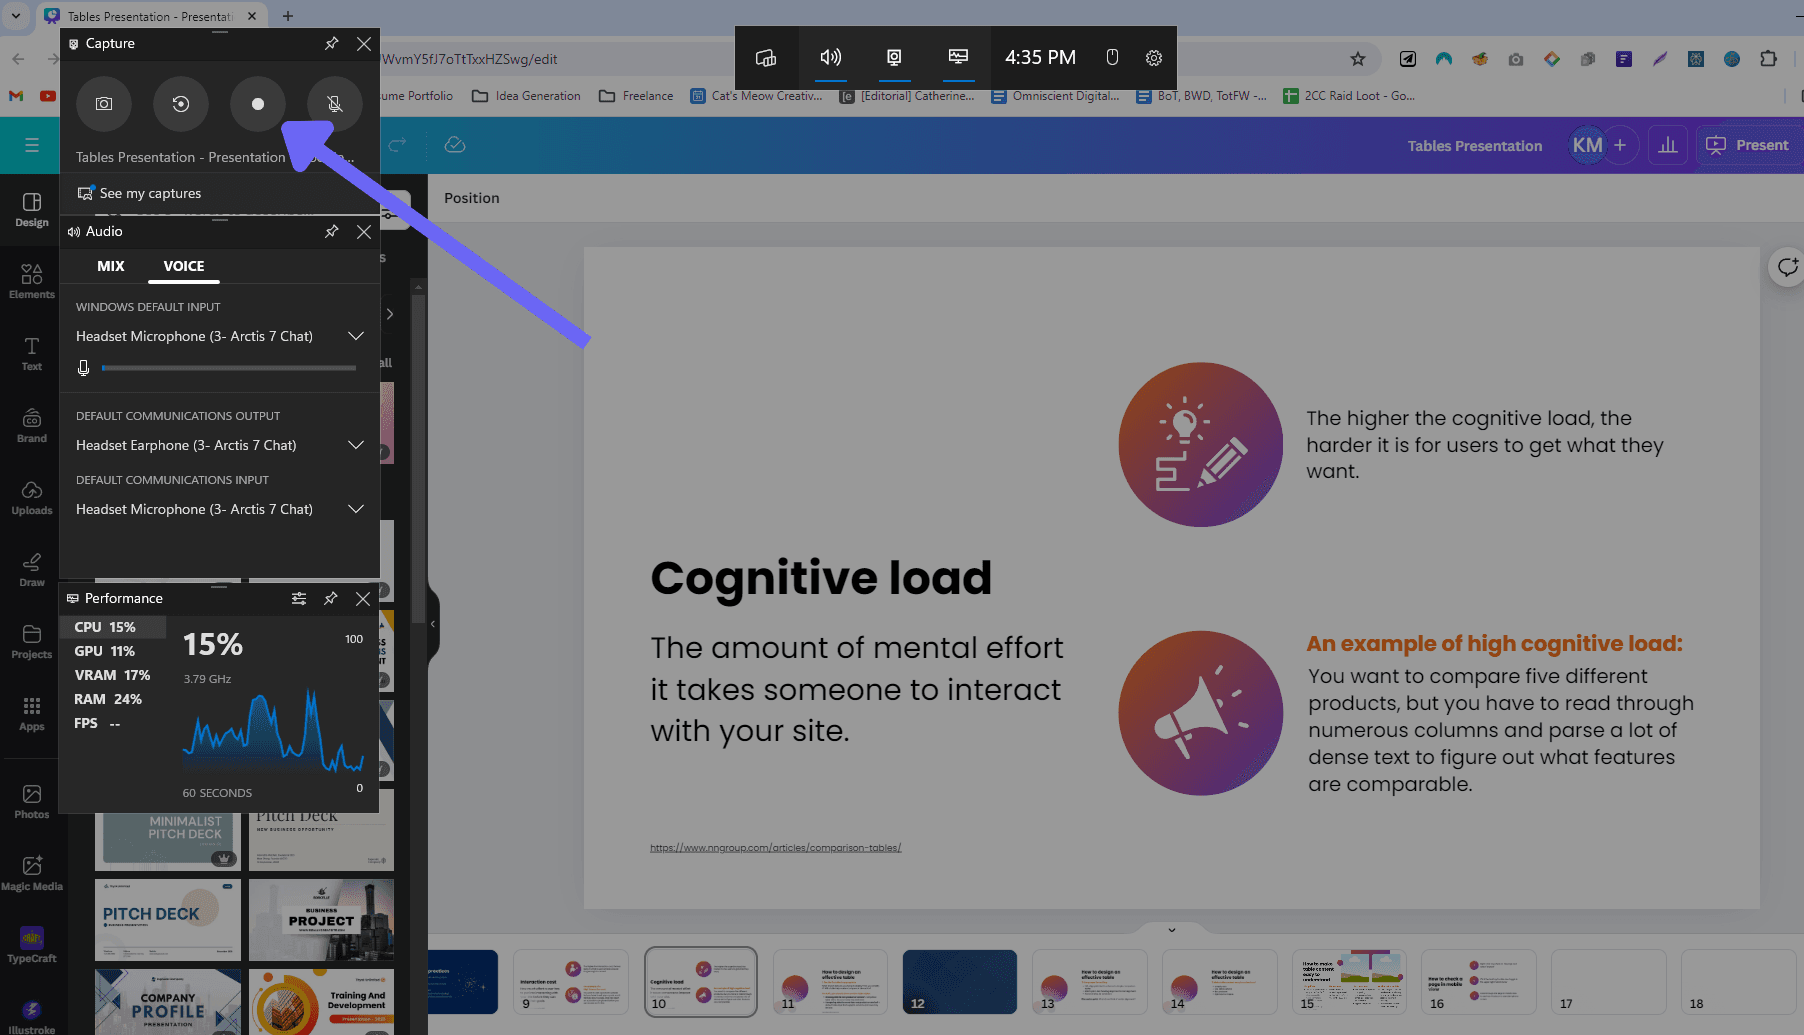
1. Open the app you want to record and press the Windows key + G to open the Game Bar overlay.
2. In the Capture window, press the button with the circle in the center to start recording. Alternatively, you can press the Windows key + Alt + R to start recording.
3. Once you’ve completed the actions you want to record, tap the recording button a second time or press Windows key + Alt + R again to stop recording.
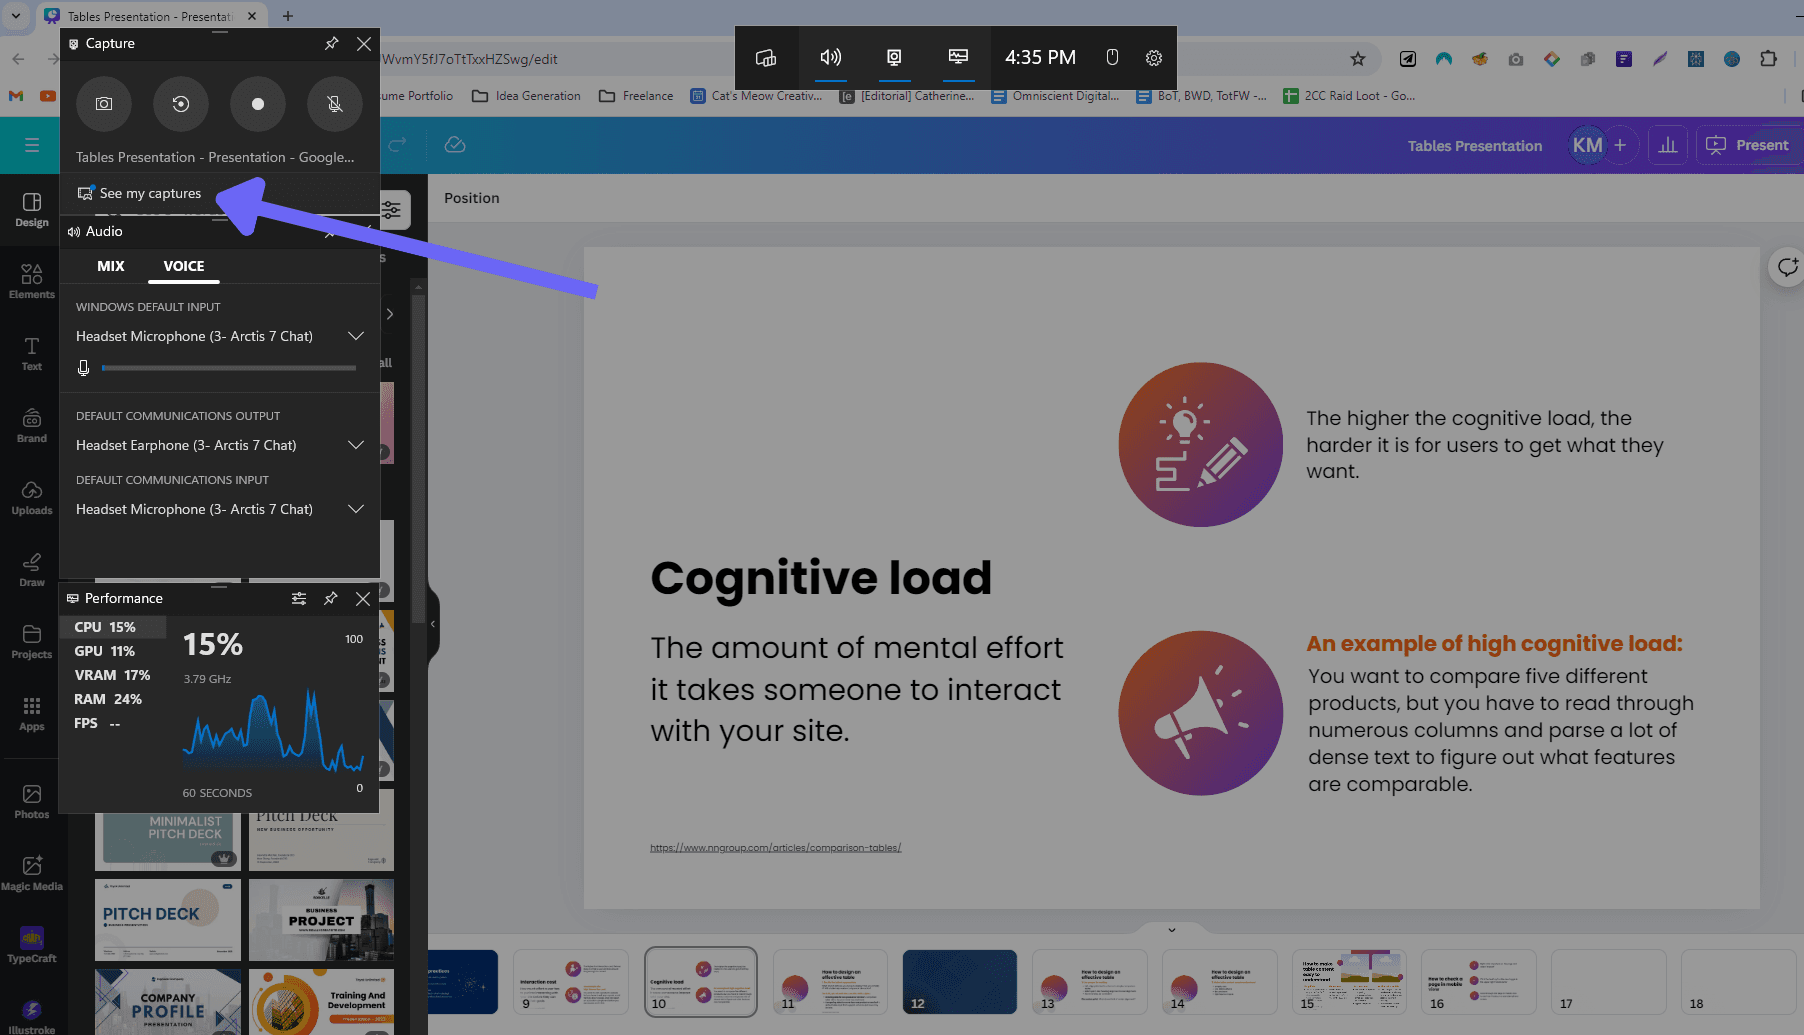
4. You may see a pop-up that says your recording was captured. Click it to view your video. If you don’t get a pop-up, open the Xbox Game Bar overlay, look for “See my captures,” and click it to open a folder with all your saved screen recordings.
Useful Windows keyboard shortcuts to help you screen record
Ready to start recording? Avoid the clunky task of moving your cursor all the way over to the record button and back to the content you want to capture with these keyboard shortcuts.
You can access these shortcuts or set up custom keybinds under the Game Bar controls in Settings > Gaming.

Start or stop screen recording
Start or stop recording: Windows key + Alt + R
Record the last 30 seconds of screen activity: Windows key + Alt + G
Control audio
Turn your microphone on or off: Windows key + Alt + M
Capture screenshots
Capture your current screen: Windows key + Alt + PrtScrn
Open the Snipping Tool to capture a custom area: Windows key + Shift + S
Access Xbox Game Bar
Open the Xbox Game Bar overlay: Windows key + G
Part of Team Apple? No judgment here. Learn how to screen record on Mac and take a Mac screen capture in the step-by-step guides.
Upgrading your tools: Choosing the right Windows screen recorder app
Third-party screen recording software offers more features than the basic Windows toolkit. Here are a few alternatives to Windows 10 and 11 screen recording features and how they compare:
Windows vs. OBS Studio
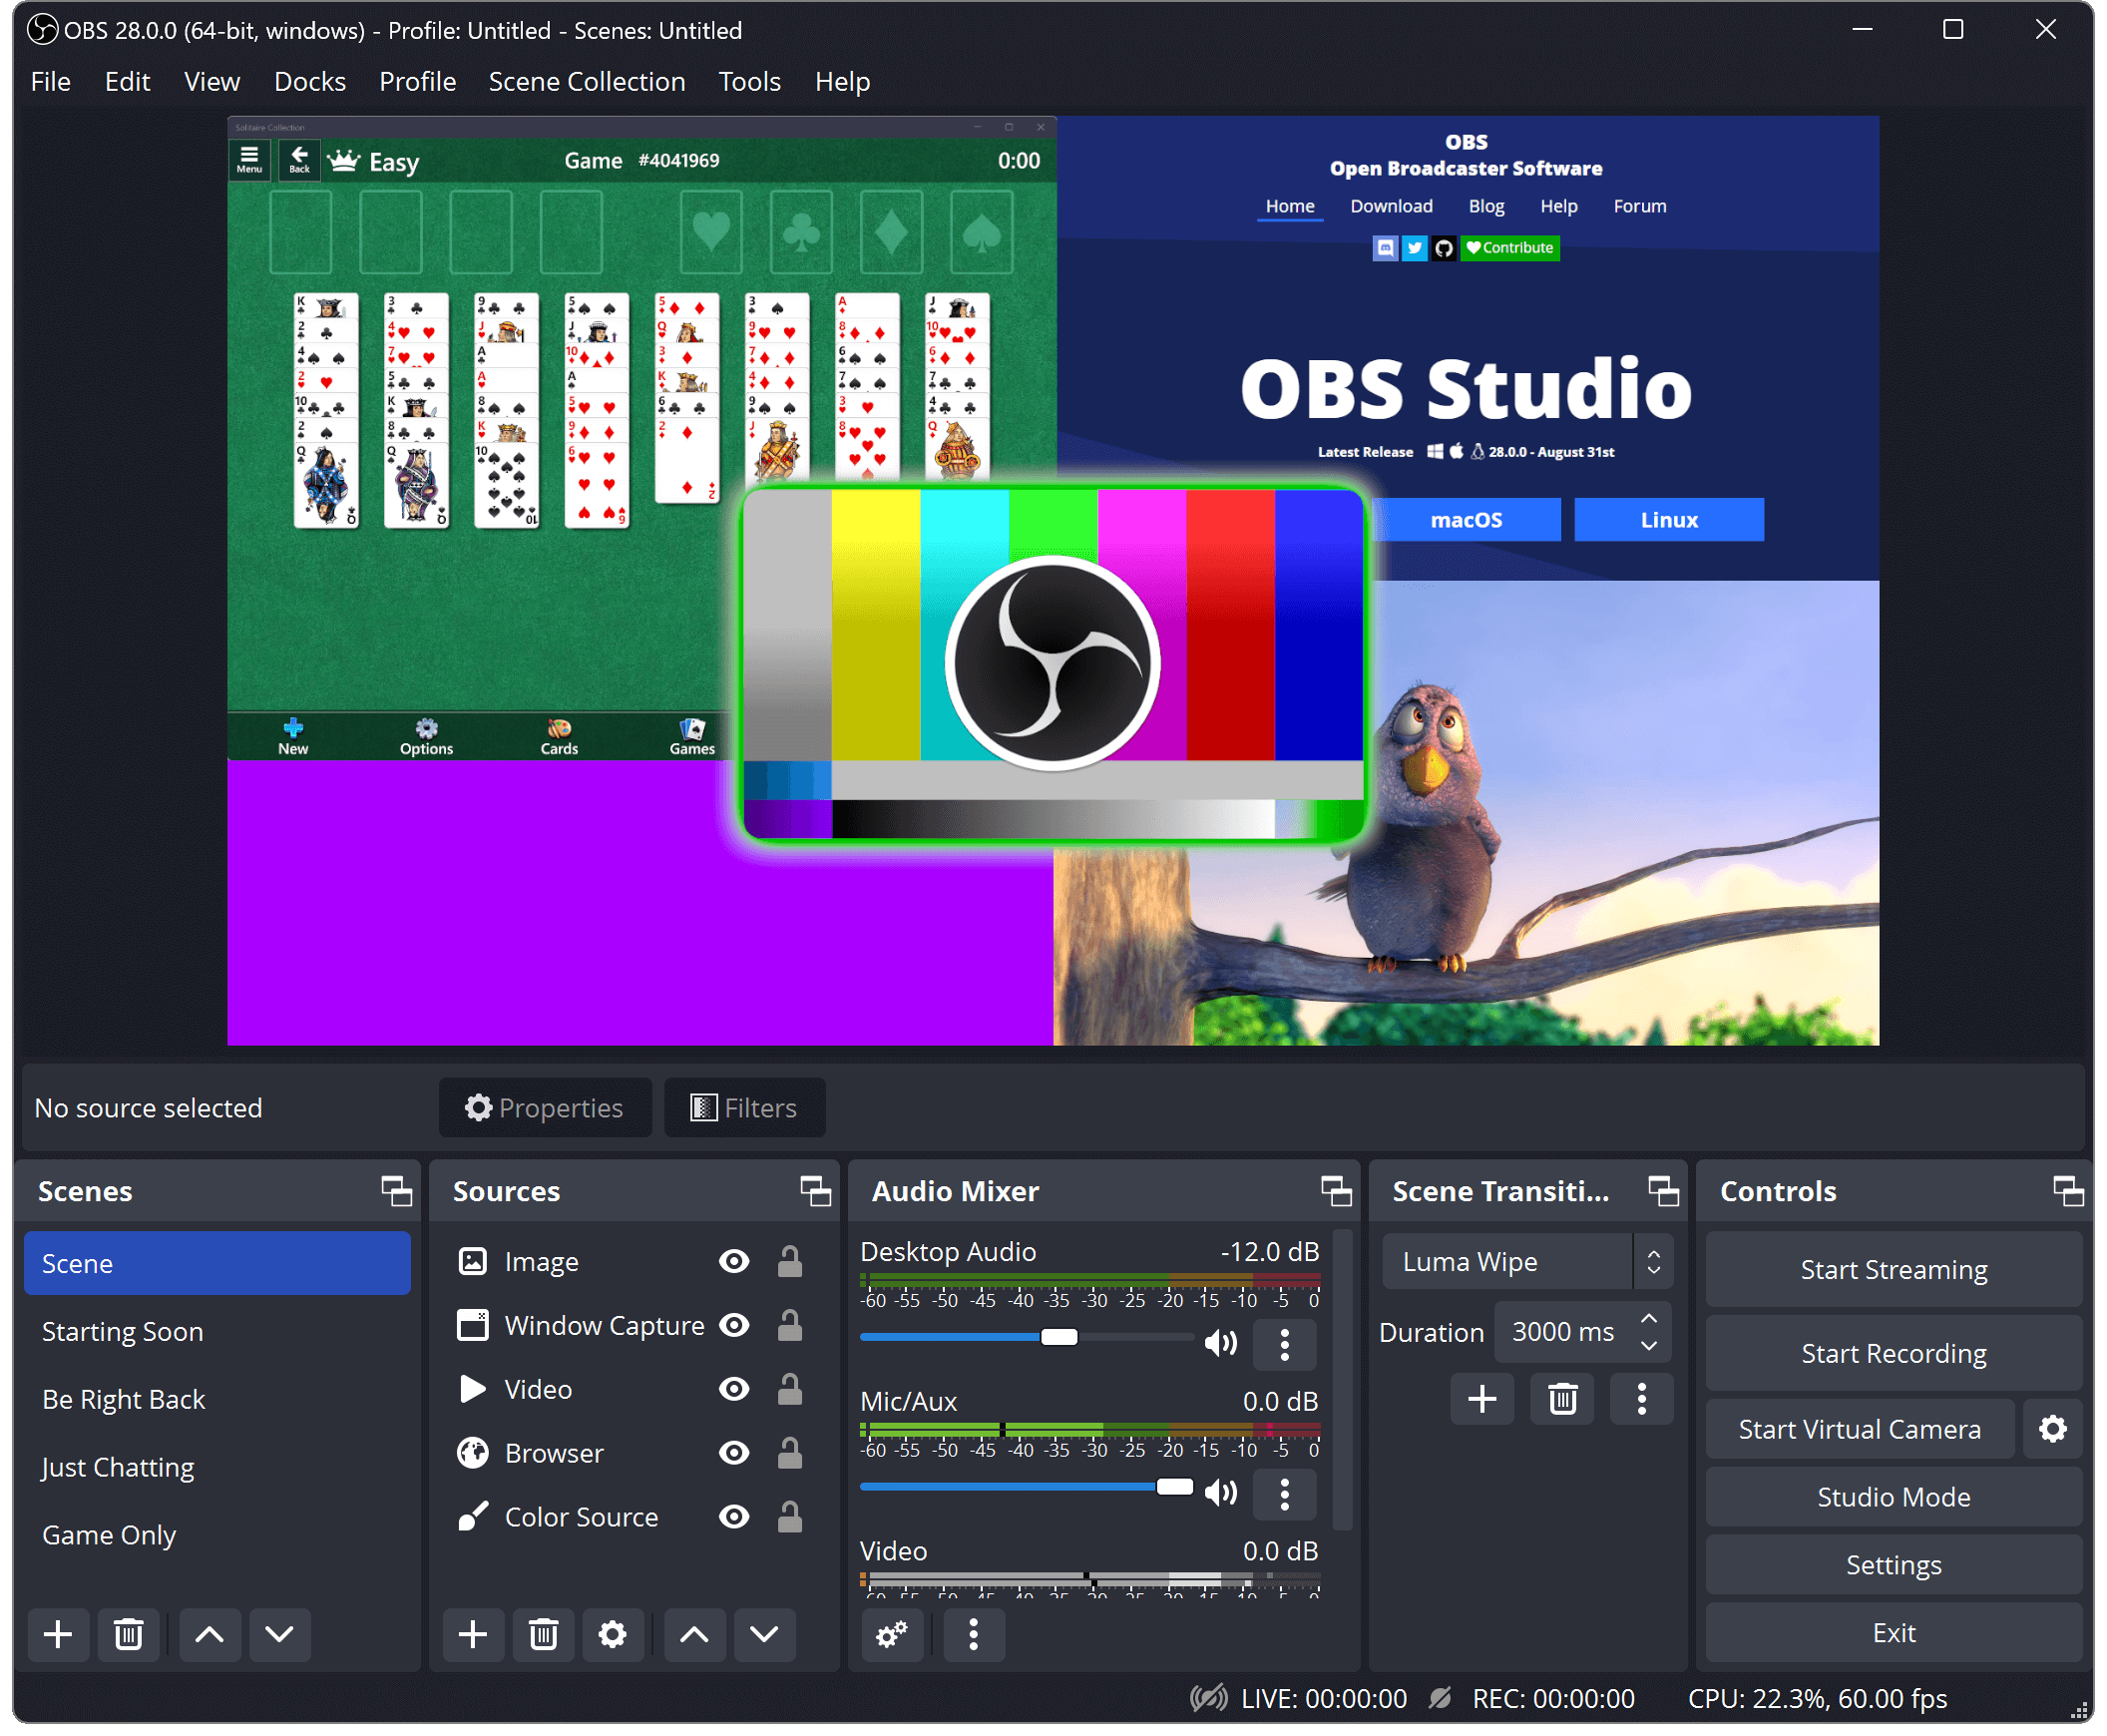
A free and open-source screen recording tool, OBS Studio offers a variety of features for capturing and editing your videos.
OBS Studio features many settings and capabilities that native Windows screen recording doesn’t support:
Screen, webcam, and audio recording
Audio mixer
Advanced features like transitions, noise reduction, and live streaming support
Video and audio bitrate, encoder, and recording format settings
Audio and video filters
OBS Studio does have a fairly steep learning curve compared to the built-in Windows screen recorder, but it remains one of the easiest-to-use free recording tools out there.
Windows vs. Zoom Clips

Sure, Zoom isn’t primarily a screen recording tool, but its Clips tool is designed to make sharing information easier. Here are some of the standout features of Zoom Clips:
Record your webcam and entire screen or a section of your screen
Review your recording and trim unnecessary footage
Share your video via link and adjust permissions for who can view it
Zoom’s free plan comes with Clips Basic, which limits you to five total two-minute videos. You also get access to Zoom meetings so you can connect with remote coworkers in real time.
Beware of Zoom fatigue: Did you know real-time video calls can drain productivity? Find out how to use asynchronous screen recordings in place of video calls to reduce Zoom fatigue.
How to communicate more effectively with video messaging
Screen recordings are an effective way to collaborate and communicate with your team, customers, and audience. Here are some ways Loom screen recordings can personalize your videos:
Record a welcome message and guides to make remote onboarding personal and scalable.
Record yourself sharing a presentation to engage your audience.
Build your sales pipeline with personalized outreach videos.
Explain complex ideas in a way that anyone can understand.
Provide feedback, whether it’s remote pair programming, asynchronous design critique, or product design Q&A with mobile screen recording.
Create exceptional experiences with customer service videos.
Viewers can also respond to your screen recording with time-stamped comments and emoji reactions. These enable them to ask follow-up questions or leave valuable feedback about what you’ve recorded.
Loom is the screen recorder that works wherever you work
Loom’s desktop app is a quick and easy way to record on your Windows PC. But if you’re not a Windows user, you can still use Loom on macOS—or download the Chrome extension to record on any device. You can also take Loom on the go and record on your iPhone or Android.
Whichever device you choose, start recording your screen in just a few clicks with Loom. Once you’ve finished, let Loom AI take care of polishing your video and audio quality, or trim, stitch, and edit your video until you’re satisfied. Then, share your final recording with anyone, anywhere using an automatically generated link.
Take the free Loom Chrome extension for a spin and try it out for yourself.